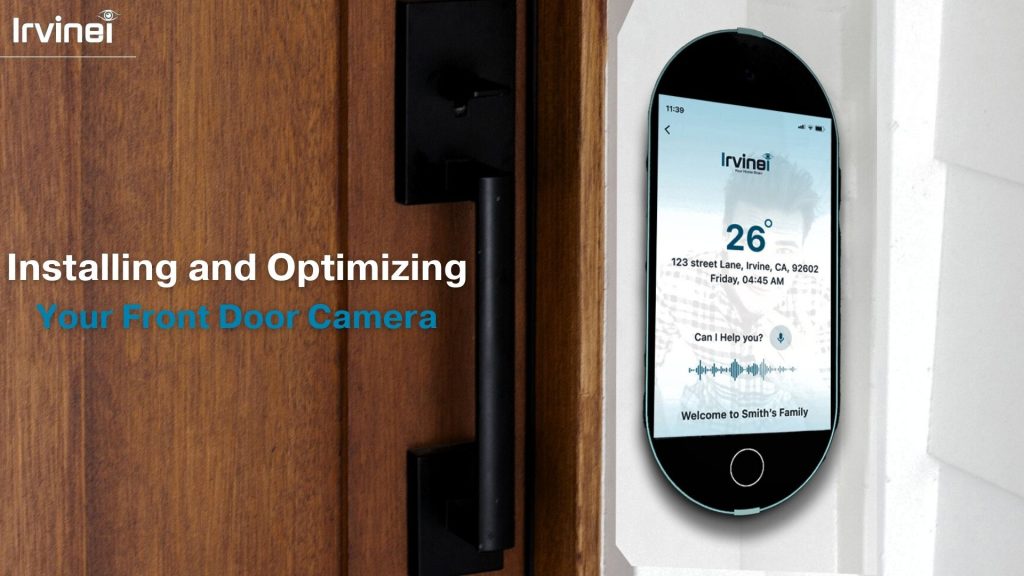
One of the revolutionary additions to home security is the wireless doorbell camera. In this guide, we will delve into the importance of front door camera, the benefits of DIY installation, and provide an overview of the exciting developments in this field.
The front door is the primary entry point for potential intruders, making it a critical area to monitor. Front door camera acts as a vigilant guardian, offering real-time surveillance and deterring unwanted visitors. With the ability to capture high-definition video footage, these cameras provide homeowners with a powerful tool to enhance their overall security.

Benefits of DIY Installation
Gone are the days of complex and expensive security system installations. The rise of front door camera without doorbell has ushered in an era of do-it-yourself (DIY) installation, making home security more accessible to a broader audience. DIY installation offers several notable benefits:
- Cost-Effective: DIY installation eliminates the need for professional installers, reducing overall installation costs.
- Convenience: Homeowners can set up their wireless doorbell cameras at their own pace, without scheduling appointments or waiting for technicians.
- Customization: DIY installation allows homeowners to choose the ideal placement for their front door camera for apartment or home, tailoring the system to their specific security needs.
- Flexibility: As technology advances, homeowners can easily upgrade or expand their systems without relying on external assistance.
Planning and Preparation
Before embarking on the installation of a wireless doorbell camera, thorough planning and preparation are essential. In this section, we will guide you through the crucial steps of assessing your security needs, selecting the right front door camera, and gathering the necessary tools and materials for a successful DIY installation.
A. Assessing Security Needs
Understanding Your Neighborhood:
Begin by assessing the security dynamics of your neighborhood. Understanding local crime rates and common security issues can help you tailor your home security measures to address specific concerns. Consult with neighbors or local law enforcement for valuable insights.
Identifying Potential Entry Points:
Take a walk around your property to identify potential entry points for intruders. Assess vulnerable areas such as windows, back doors, and, most importantly, the front door. Understanding where security is most needed will guide the placement of your wireless doorbell camera.
B. Choosing the Right Front Door Camera
Types of Cameras:
There are various types of front door cameras available, each with its own set of features and capabilities. Common types include:
- Video Doorbells: Integrated with a doorbell, these cameras allow two-way communication and provide a wide-angle view of your entryway.
- Smart Cameras: These offer advanced features such as facial recognition, motion detection, and smartphone integration for remote monitoring.
- Battery-Powered Cameras: Ideal for easy installation, front door camera with monitor operate on batteries and eliminate the need for complex wiring.
Features to Consider:
Consider the features that align with your security needs:
- Resolution: Higher resolution ensures clearer images and better identification of individuals.
- Field of View: A wide field of view captures more area, reducing blind spots.
- Night Vision: Essential for 24/7 monitoring, night vision allows the camera to capture clear footage in low-light conditions.
- Motion Detection: This feature triggers recording when motion is detected, enhancing security alerts.
C. Gathering Tools and Materials
Camera Kit Components:
Ensure you have all components included in your camera kit, which may typically consist of:
- Camera unit
- Mounting bracket
- Power source (battery or wired)
- Screws and anchors
- Instruction manual
Necessary Tools:
Gather the tools required for installation:
- Screwdriver
- Drill and bits
- Level
- Tape measure
- Pencil for marking
Installation Process
Now that you’ve assessed your security needs and chosen the right front door camera, it’s time to dive into the installation process. In this section, we will guide you through mounting the camera, selecting a power source, and connecting your wireless doorbell camera to the network.
A. Mounting the Camera
Ideal Camera Placement:
Choose a location that provides an unobstructed view of your front door and the surrounding area. The ideal placement ensures optimal coverage and minimizes blind spots. Consider a height that is both accessible for maintenance and discouraging for tampering.
Step-by-Step Installation Instructions:
Follow these general steps for mounting your camera:
a. Use the mounting bracket provided in your kit to mark the placement of screw holes on the wall or door frame.
b. Drill pilot holes for the screws using an appropriate drill bit.
c. Attach the mounting bracket securely to the surface using screws and anchors.
d. Attach the camera unit to the bracket following the manufacturer’s instructions.
e. Adjust the camera angle to achieve the desired field of view.
B. Power Source Options
Wired vs. Wireless:
Determine the power source for your camera based on your preference and the available infrastructure.
Wired: Cameras can be hardwired into your home’s electrical system, ensuring a constant power supply. This option is ideal for areas with easy access to power outlets.
Wireless: Battery-powered cameras offer flexibility in placement, as they are not restricted by electrical wiring. While convenient, they require periodic battery replacement.
Battery or Hardwired Connections:
If you choose a wired camera, follow the installation instructions provided by the manufacturer. For battery-powered cameras:
a. Insert batteries into the camera unit following the polarity indicated.
b. Ensure the battery compartment is securely closed to maintain weather resistance.
C. Connecting to the Network
Wi-Fi Setup:
Most wireless doorbell cameras connect to your home’s Wi-Fi network for remote monitoring and alerts. Follow these steps:
a. Access the camera’s settings through a mobile app or web interface.
b. Select your Wi-Fi network and enter the password.
c. Follow any additional prompts to complete the setup.
Securing Your Front Door Camera System
As you delve into the world of wireless doorbell cameras, it’s crucial to prioritize the security of your system. In this section, we’ll explore key measures to safeguard your front door camera, covering password protection, firmware updates, and backup/storage options.
A. Password Protection
Creating Strong Passwords:
Enhance the security of your camera system by creating strong, unique passwords:
a. Use a combination of uppercase and lowercase letters, numbers, and special characters.
b. Avoid easily guessable information, such as names or birthdays.
c. Regularly update passwords to mitigate potential security risks.
Enabling Two-Factor Authentication:
Add an extra layer of security by enabling two-factor authentication (2FA):
a. Access the camera settings and enable 2FA if supported.
b. Link your account to a secondary authentication method, such as a mobile app or email.
Maintenance Tips
As with any technology, regular maintenance is key to ensuring the optimal performance and longevity of your wireless doorbell camera system. In this section, we’ll provide essential tips for maintaining your system, covering regular checkups, cleaning, and considerations for upgrading.
A. Regular Checkups
Scheduled Inspections:
Conduct routine inspections of your front door camera system to identify potential issues:
a. Check camera angles and focus to ensure optimal coverage.
b. Verify that all components, including mounting brackets and power sources, are secure.
c. Review footage to identify any irregularities or potential security concerns.
System Diagnostics:
Utilize the camera’s diagnostic tools to ensure all features are functioning correctly:
a. Test motion detection capabilities by triggering events within the camera’s view.
b. Confirm that alerts and notifications are working as expected.
B. Cleaning and Maintenance
Regular Cleaning:
Keep your camera lens and housing clean for clear and unobstructed footage:
a. Use a soft, lint-free cloth to wipe the camera lens.
b. Remove any debris or spider webs around the camera housing.
c. Check for water or condensation inside the camera housing and address any issues promptly.
Weather Protection:
If your camera is exposed to the elements, consider additional weatherproofing measures:
a. Apply a silicone-based sealant around cable entry points to prevent water ingress.
b. Ensure that the camera housing is designed to withstand varying weather conditions.
In a nutshell…
As technology continues to advance, front door camera not only offer enhanced security but also a seamless integration into our daily lives. The ability to configure settings, receive real-time alerts, and conduct regular maintenance ensures that homeowners can stay ahead of potential threats.
Remember, the security landscape is dynamic, and staying informed about the latest developments, upgrading your system as needed, and maintaining its integrity are vital practices. By embracing the future of home security through wireless doorbell cameras and adopting the tips outlined in this guide, you are taking a proactive step toward creating a safer and smarter living environment for you and your loved ones.