Think of MQTT as the central nervous system for your smart home. It’s a super lightweight messaging protocol that lets all your devices, sensors, and automations talk to each other—and to Home Assistant—instantly. This publish-subscribe model is the real magic behind a fast and reliable setup, and it's far more efficient than the chaos of every device trying to connect directly to your network.
Why MQTT Is a Game-Changer for Your Smart Home
Ever notice a delay when you turn on a smart light? Or maybe a sensor update that comes in a few seconds too late? That's often the result of network congestion, where every single device is trying to shout over each other. The Message Queuing Telemetry Transport (MQTT) protocol cleans up this mess by creating a central hub, called an MQTT broker.
Instead of devices communicating directly, they send tiny, efficient messages to this broker. Then, other devices or services (like Home Assistant) simply "subscribe" to the topics they're interested in.
Picture this: your motion sensor detects movement and publishes a "motion detected" message. Your smart lights and security cameras, which are subscribed to that specific topic, get the message immediately and react. They don't even need to know the motion sensor exists. This approach keeps your devices decoupled, which makes your entire entire system far more stable.
The Power of a Central Hub
This "publish-subscribe" system is precisely why an mqtt home assistant setup is so effective. It brings a few huge wins to the table:
- Speed and Efficiency: MQTT messages are incredibly small. This means they fly across your network without causing lag, which is perfect for battery-powered devices.
- Scalability: Adding more devices is no problem. Since they all report to one central broker, you can add dozens or even hundreds of devices without bogging things down.
- Reliability: If a sensor briefly drops off the network, the broker can store its messages and deliver them as soon as it reconnects. You won't miss a beat.
This kind of solid communication is crucial for advanced devices like the IRVINEi OVAL. It publishes data from its motion, temperature, and humidity sensors to separate MQTT topics, giving you the granular data needed for truly intelligent automations. It's a foundational concept that powers the whole world of open-source home automation.
A smart home only feels truly "smart" when it's responsive and dependable. MQTT provides that real-time communication fabric, turning a random collection of gadgets into a single, cohesive system that just works.
This level of seamless integration is a big reason the smart home industry is booming. Valued at around USD 84.5 billion in 2024, the global smart home market is expected to hit USD 116.4 billion by 2029. You can dive deeper into this expanding market and its trends.
And if you're managing a larger home with lots of devices spread out, understanding mesh network advantages can help ensure your network is just as robust as your MQTT setup.
Installing Your Mosquitto MQTT Broker
Now that we've covered the "why" behind MQTT, let's get our hands dirty and set up the "how." The heart of any MQTT system is the broker, and for us Home Assistant users, the best choice is the official Mosquitto broker add-on. Think of it as installing a dedicated post office right inside your smart home's brain.
Getting it installed couldn't be easier. Just pop over to your Home Assistant dashboard, head to Settings > Add-ons, and hit that blue "Add-on Store" button in the corner. Search for "Mosquitto," click on the official add-on, and press "Install." Give it a minute to work its magic.
This simple step builds the entire foundation for all your MQTT devices, from simple switches to sophisticated multi-sensors like the IRVINEi OVAL, to talk seamlessly with Home Assistant.
This diagram really clarifies how the broker sits at the center of your smart home communications.
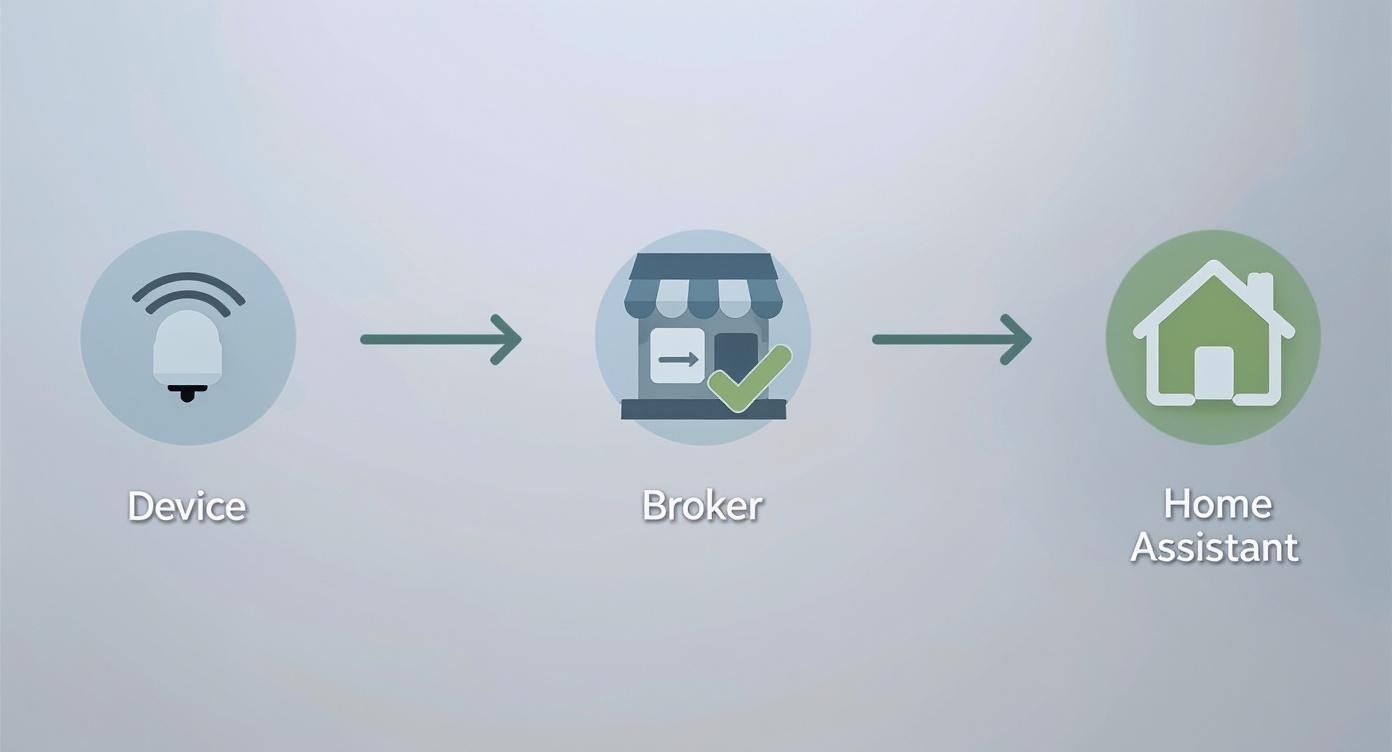
As you can see, the broker is the indispensable middleman, making sure messages get where they need to go without devices having to connect directly to each other.
Configuring Your Broker for Security
Before you fire up the broker, it's crucial to create a dedicated user account for your devices. This isn't just a suggestion—it's a must-do for keeping your smart home network locked down.
In the Mosquitto add-on, click over to the "Configuration" tab. You'll find a straightforward text editor waiting for you. This is where we'll add the login details.
The format is clean and simple. You just need to add this block:
logins:
- username: your_mqtt_user
password: your_secure_password
anonymous: false
Just be sure to swap out your_mqtt_user and your_secure_password with something unique and strong. Setting anonymous: false is non-negotiable; it prevents any random, unauthenticated devices from connecting to your broker. Once you've added your details, hit "Save."
Now, jump back to the "Info" tab. I always recommend toggling on "Start on boot" so your broker automatically comes back online if you ever have to restart Home Assistant. With that checked, go ahead and click "Start."
Pro Tip: After starting the broker, take a quick peek at the "Log" tab. Seeing messages like "Mosquitto version X.X.X running" and a confirmation that it's listening on port 1883 is your green light. It’s a simple check that gives you peace of mind knowing your communication hub is officially open for business.
Setting Up the MQTT Integration
Okay, your broker is up and running, but Home Assistant doesn't know about it yet. We need to introduce them. This final step connects the two pieces, completing your mqtt home assistant setup.
First, go to Settings > Devices & Services.
Next, click the "+ Add Integration" button and search for "MQTT."
A small configuration window should pop up, and in most cases, it will have already discovered your new Mosquitto broker. If everything looks good, just click "Submit."
Home Assistant will handle the rest, automatically using the credentials you created to establish a secure, local connection. Once you get that "Success!" message, you’re all set. You now have a rock-solid MQTT foundation, ready and waiting for your first device.
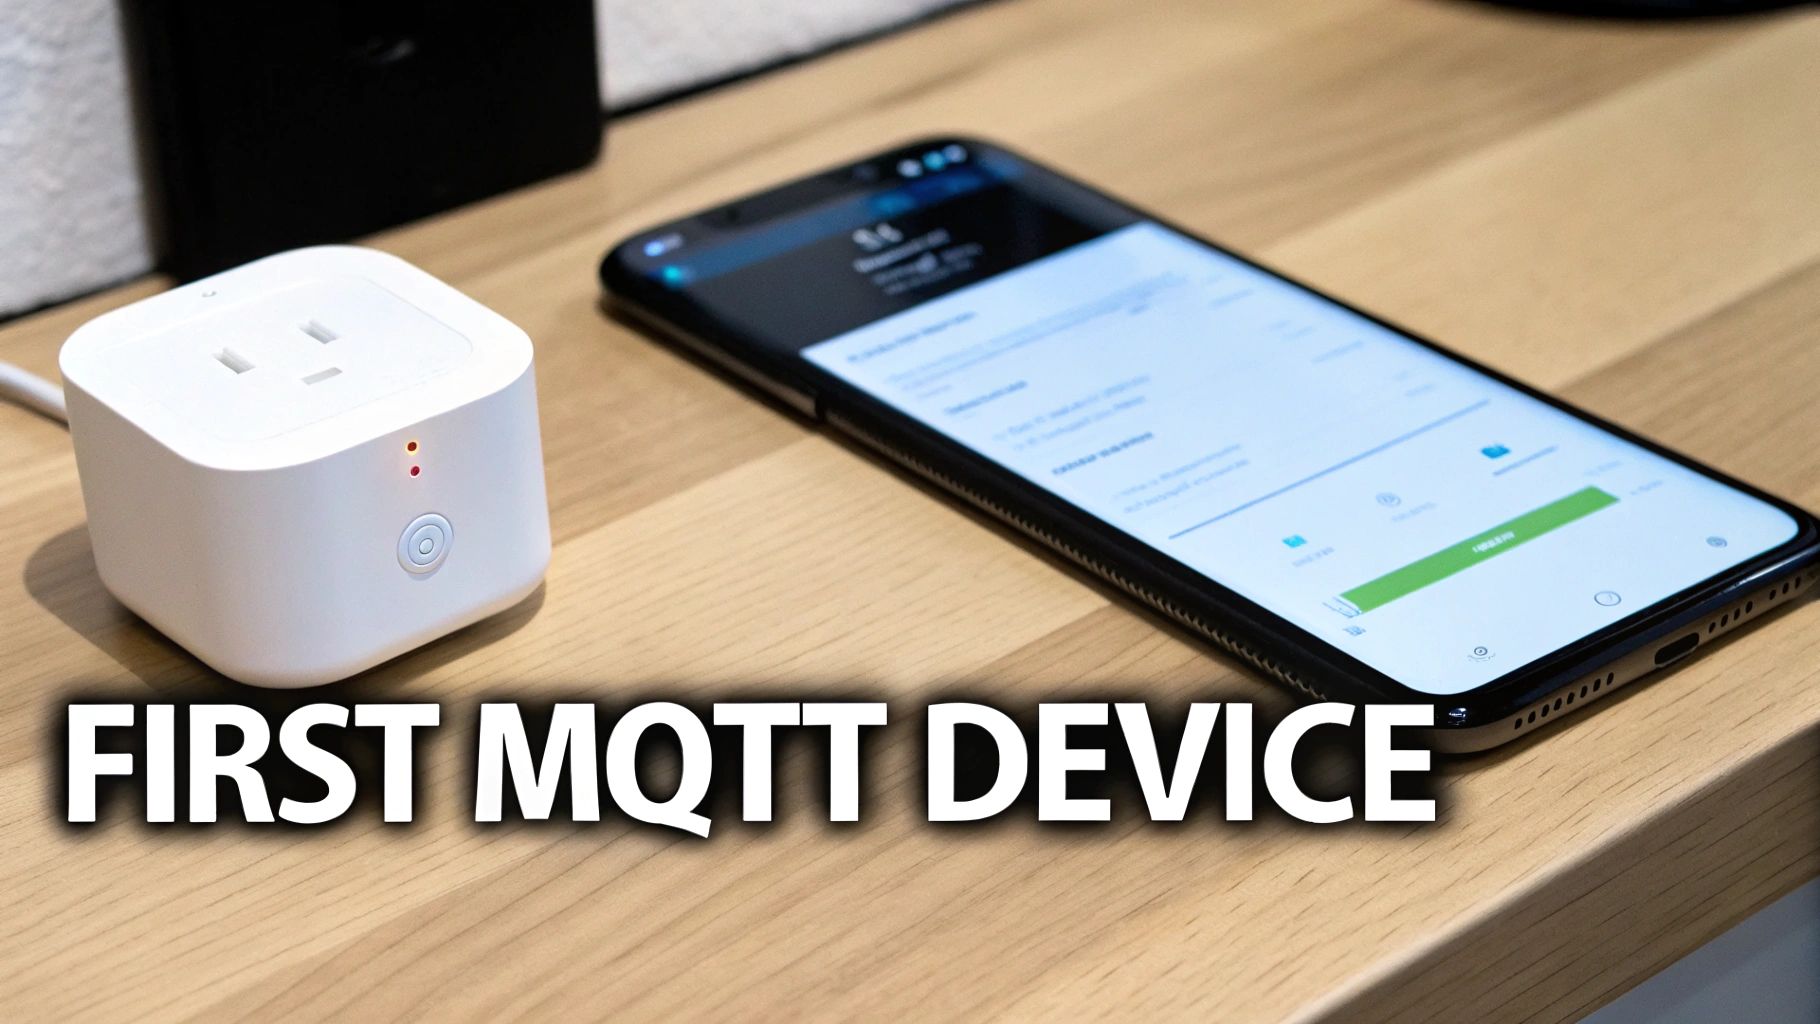
Connecting Your First MQTT Device
With your Mosquitto broker up and running, it's time for the fun part: connecting a device and actually seeing the magic happen. All the setup is great, but that "aha!" moment comes when you see a device report its status or react to a command you sent.
The good news is that this is usually pretty straightforward. Most modern Wi-Fi devices that "speak" MQTT have a settings page tucked away in their web interface or app. This is where you'll tell the device how to find your new broker.
Finding and Configuring Device Settings
Let's imagine we're setting up a common Wi-Fi smart switch. Once it's on your network, you'd typically pull up its settings by navigating to its local IP address in your web browser. From there, hunt for a section labeled "MQTT," "Integrations," or something similar under "Advanced Settings."
You'll need four key details to plug in:
- Server/Host: This is simply the IP address of your Home Assistant machine.
- Port: The standard, go-to port for MQTT is 1883. It's almost always this.
- Username: The username you created for your MQTT user earlier.
- Password: The matching password for that user.
Once you save those settings, the device will try to phone home to your broker. Now we can pop back over to Home Assistant to see if the messages are getting through.
Verifying Communication in Home Assistant
Before you start writing a single line of YAML, it's always a good idea to confirm that Home Assistant is actually hearing from your new device. Thankfully, there's a fantastic built-in tool for exactly this.
Head over to Settings > Devices & Services and find the MQTT integration you just set up. Click on it to open its configuration page. You'll see an option to "Listen to a topic."
To catch everything coming into the broker, just type a # (the hash symbol) into this field and click Start Listening. This wildcard tells Home Assistant to show you all messages, no matter the topic.
It’s an incredibly useful little spy tool for debugging.
If everything is working, you'll see messages start to appear in real-time, complete with their topic and payload (the actual data).
Adding Your Device to the Configuration
Once you see your smart switch's messages, you've captured the most important info: its unique topics. Now, you just need to tell Home Assistant what to do with them. This is done by adding a small snippet to your configuration.yaml file.
Open your configuration.yaml and add a block like this, swapping out the topics with the ones you just discovered from the listener tool.
mqtt:
switch:
- name: "Office Smart Switch"
unique_id: "office_smart_switch_01"
state_topic: "stat/smartswitch/POWER"
command_topic: "cmnd/smartswitch/POWER"
payload_on: "ON"
payload_off: "OFF"
state_on: "ON"
state_off: "OFF"
optimistic: false
qos: 0
retain: true
The
state_topicis what Home Assistant listens on to learn if the switch is on or off. Thecommand_topicis the channel it uses to send its own instructions, like "turn on." Getting these two right is the entire ballgame.
Save the file, restart Home Assistant, and you should see a brand new "Office Smart Switch" entity pop up. It's now ready to be added to your dashboards and used in automations. You've officially bridged a physical device to your smart home hub
Now that you’ve got a basic switch talking to Home Assistant, let's level up to something far more capable. The IRVINEi OVAL hub isn't just another sensor; it's a full-blown environmental monitoring station designed from the ground up to work seamlessly with an mqtt home assistant setup.
What makes it so special is that it packs multiple high-precision sensors into one sleek device.
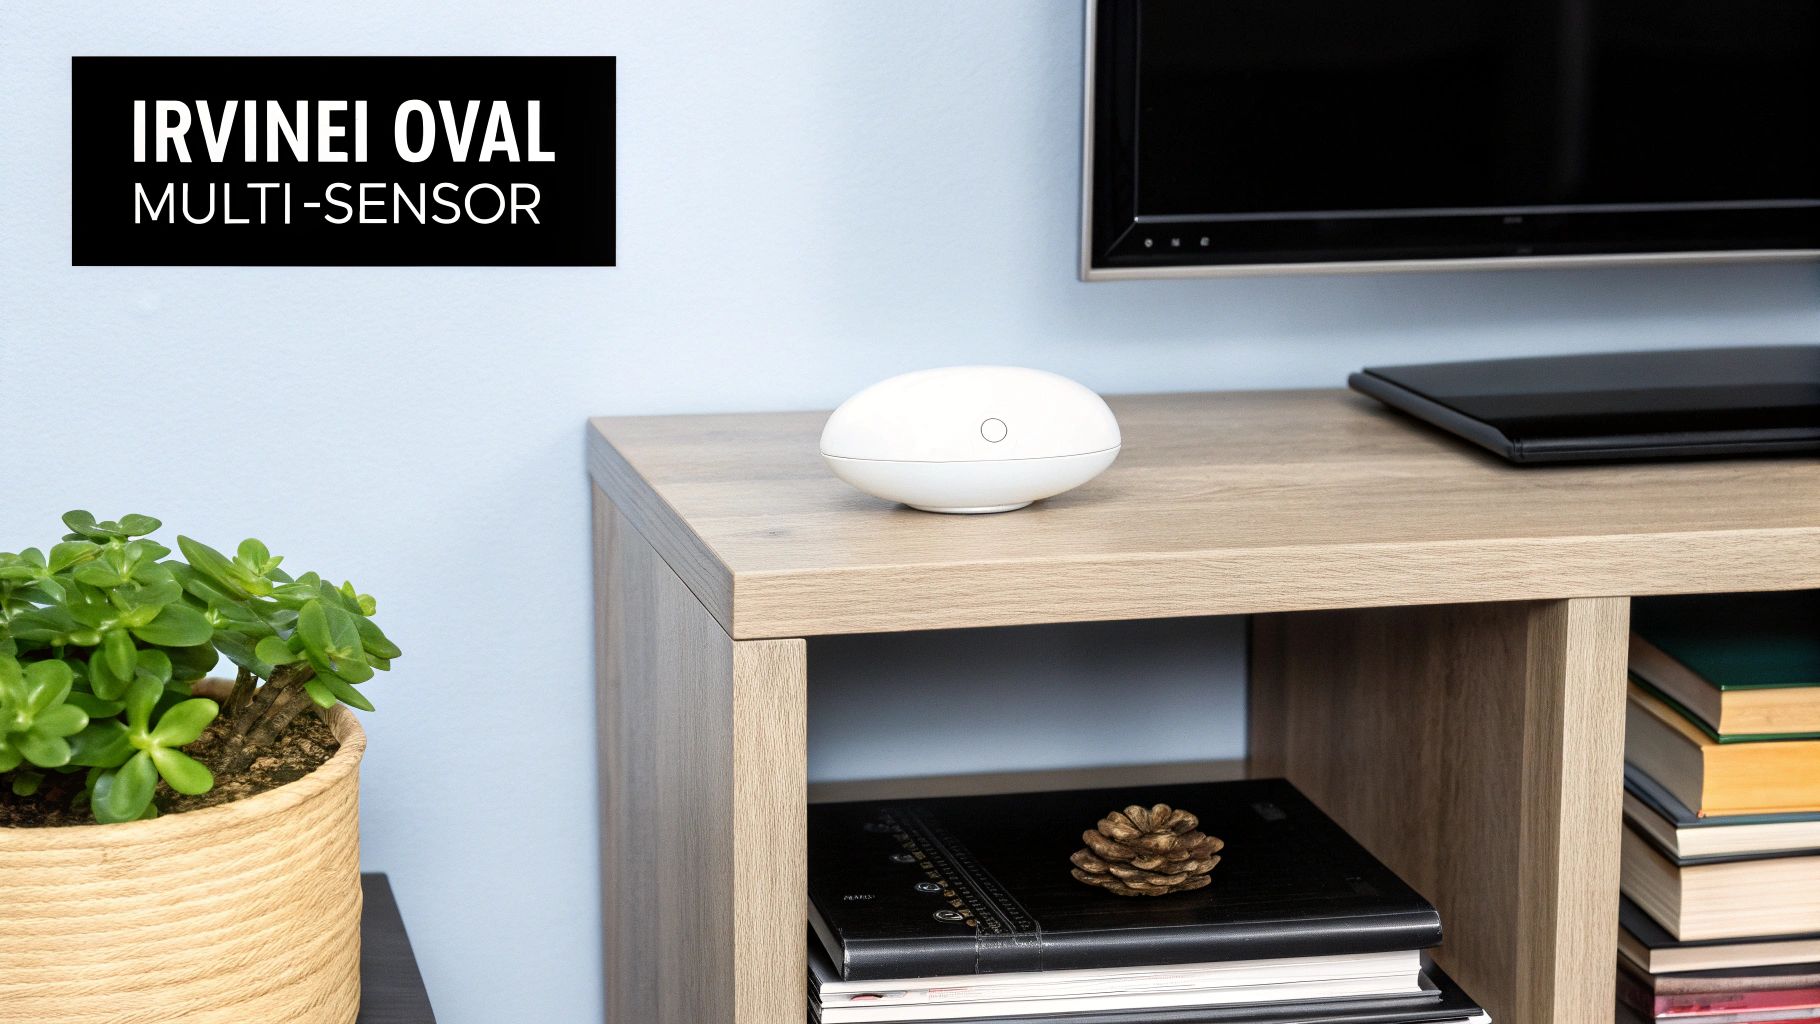
From a single OVAL hub, you get data on:
- Motion
- Temperature
- Humidity
- Ambient Light
- Water Presence
Instead of dumping all that data into one messy topic, the OVAL is smart. It publishes each measurement to its own dedicated MQTT topic, which is a game-changer for creating precise automations. For instance, you could have hallway lights turn on with motion, but only if the ambient light sensor says it's dark. Or, you could get a critical alert from the water sensor while your system cross-references the humidity reading to assess the severity of a potential leak.
Getting the OVAL into Home Assistant
Thanks to its clean topic structure, adding the OVAL to your configuration.yaml file is surprisingly simple. The trick is to create a separate sensor entity for each data stream you want to use. This keeps your configuration tidy and lets you treat each sensor reading as an independent trigger or condition in your automations.
Here’s a real-world example of how to set up the motion and temperature sensors from an OVAL placed in your living room:
mqtt:
binary_sensor:
- name: "Living Room Motion OVAL"
state_topic: "irvinei/oval/livingroom/motion"
payload_on: "ON"
payload_off: "OFF"
device_class: motion
sensor:
- name: "Living Room Temperature OVAL"
state_topic: "irvinei/oval/livingroom/temperature"
unit_of_measurement: "°C"
device_class: temperature
See how that works? One physical device, two distinct entities in Home Assistant. You just repeat that pattern for humidity, light, and water, changing the state_topic and device_class for each. This is where the power of the mqtt home assistant integration really shines—total, granular control.
IRVINEi OVAL vs Standard Smart Sensors
The OVAL stands apart from typical smart sensors, which often excel at one task but require you to clutter your home with multiple devices. Its key difference lies in its integrated, multi-layered approach to environmental sensing. While other devices might report motion or temperature, the OVAL delivers five data points simultaneously, unlocking a new level of automation intelligence. This table breaks down the key differences when using them in a Home Assistant setup.
| Feature | IRVINEi OVAL Hub | Standard Single-Function Sensor |
|---|---|---|
| Sensor Capabilities | 5-in-1: Motion, temperature, humidity, light, and water presence. | 1-in-1: Typically measures only one thing, like motion or temp. |
| MQTT Topic Structure | Clean, multi-topic output—one topic per sensor for easy configuration. | Single topic, which is simple but lacks granularity. |
| Physical Footprint | One small, aesthetically pleasing device for an entire room. | Requires a separate device for each data point you want. |
| Automation Potential | Enables complex, multi-condition automations (e.g., "if motion AND it's dark"). | Limited to single-condition automations (e.g., "if motion"). |
| Setup Complexity | A single YAML entry can be copied and adapted for all five sensors. | Requires configuring multiple, unrelated devices. |
In short, the OVAL simplifies your physical setup while expanding your digital capabilities, making it an ideal central hub for room-level data collection.
Why the OVAL is a Great Choice
What really makes the IRVINEi OVAL a standout is the thought put into its design and functionality. Unlike competitors that often require cloud accounts or proprietary apps, the OVAL is built for local control, aligning perfectly with the privacy-focused ethos of Home Assistant. Its high-precision sensors provide reliable data for critical automations, and its power efficiency makes it a true "set-it-and-forget-it" device. Many multi-sensors are bulky, ugly boxes, but the OVAL is genuinely non-intrusive and blends right in.
The OVAL hub's philosophy is simple: deliver the most environmental data with the least physical and electrical footprint. It’s for people who want deep smart home insights without sacrificing their home's aesthetic or privacy.
This blend of form and function unlocks sophisticated, multi-layered automations that feel truly intelligent. To see how this philosophy extends to other products, check out our guide on smart home integration with over 2,700 devices. The OVAL’s ability to feed multiple, reliable data streams into your MQTT broker makes it a cornerstone for any serious Home Assistant installation.
Troubleshooting Common MQTT Integration Issues
Even the most carefully planned Home Assistant setup can hit a bump in the road. It happens. One minute your smart switch is working flawlessly, the next it’s showing up as "unavailable," or your commands seem to be shouting into the void. Don't sweat it—these hiccups are almost always caused by a simple mismatch somewhere in the chain and are usually quick to fix.
Before you start digging through complex logs, take a deep breath and run through a quick mental checklist. Most problems boil down to just a handful of usual suspects. Is the device actually powered on and connected to your Wi-Fi? I know it sounds obvious, but you’d be surprised.
Next, check your configuration.yaml file. Did you make a tiny typo in the state_topic or command_topic? A single misplaced character is the classic culprit behind a lot of MQTT headaches. Another common snag is the network itself; sometimes a new device gets accidentally blocked by a router firewall. A quick peek at your router's client list will tell you if the device has a stable connection.
Your Secret Weapon: MQTT Explorer
When the simple checks don't turn up anything, it’s time to bring out the big guns. My go-to tool is MQTT Explorer, and it should be yours, too. This free application gives you a live, real-time view of every single message flying through your broker. It's like having X-ray vision for your entire smart home network.
Getting started is easy. Just connect it to your Mosquitto broker using the same IP address and credentials your other devices use. Right away, you’ll see a constantly updating list of all topics and the messages being published. This makes spotting problems incredibly straightforward.
-
Spotting Typos: You might instantly see a device publishing to
stat/smartswitch/powerwhen your configuration is looking forstat/smartswitch/POWER. - Checking Payloads: Is your smart plug sending a payload of "true" when Home Assistant is expecting "ON"? MQTT Explorer will show you exactly what's being sent.
- Finding Silent Devices: If you don't see a device's topic show up at all, you know the issue is with the device itself or its connection to the network, not with Home Assistant.
Learning to use MQTT Explorer is a game-changer for debugging your smart home. It completely removes the guesswork and shows you precisely what your devices are saying, making it simple to get your Home Assistant configuration lined up perfectly.
Keeping Your System Accessible and Reliable
As you add more devices, keeping everything communicating reliably becomes even more critical, especially if you want to control your home while you're away. With Home Assistant now in over 2 million households, building a robust and stable system is a shared goal for many of us. You can find some fascinating data on this rapid smart home adoption.
A rock-solid MQTT setup is the foundation for all of this. Once you've gotten the hang of fixing local issues, you'll probably want to think about managing your system from anywhere in the world. For that, you’ll need to set up secure connections, which is a crucial next step in your smart home journey. To learn more, take a look at our guide on achieving secure Home Assistant remote access.
Common MQTT Questions Answered
When you first jump into setting up MQTT with Home Assistant, a few questions always seem to pop up. Let's tackle some of the most common ones right away—getting these cleared up now will save you a ton of headaches later and help you build a much more solid smart home.
This isn't just about theory; it's about the practical stuff that hits you right after you get that first device talking.
Do I Still Need an MQTT Broker if My Devices Are All on Wi-Fi?
Yes, you absolutely do. This is probably the biggest point of confusion for newcomers. Think of MQTT as a language, not a network like Wi-Fi or Zigbee. The broker is the central hub, or post office, where all your devices send and receive messages.
Without a broker, every Wi-Fi device would try to talk directly to Home Assistant, creating a ton of network noise. With a broker, they just send tiny, efficient messages to one central spot. This makes your whole system faster and more reliable, especially as your device count grows. That efficiency is the real magic of using MQTT in Home Assistant.
What’s the Difference Between a State Topic and a Command Topic?
Getting this right is crucial. These two "topics" are what allow Home Assistant and your devices to have a two-way conversation.
-
state_topic: This is how a device reports its status to Home Assistant. For example, a smart plug would publish "ON" or "OFF" to its state topic, so your dashboard always shows the correct status. Home Assistant is just listening here. -
command_topic: This is how Home Assistant sends instructions to a device. When you tap a button in the app, Home Assistant publishes a command like "ON" to this topic, telling the plug what to do. Home Assistant is talking here.
Here's a simple way to remember it: the
state_topicis for incoming status updates from your device, while thecommand_topicis for outgoing commands to your device. Mixing these up is a classic rookie mistake!
Can I Run My MQTT Broker on a Different Machine?
You bet. While the Mosquitto add-on inside Home Assistant is super convenient for most people, it's not your only option. Many power users prefer to run a dedicated MQTT broker on a separate machine, like a Raspberry Pi or a small server.
This approach is great for really large setups or if you just like keeping your services separate for performance or organizational reasons. If you go down this path, you'll just need to point your devices and the Home Assistant MQTT integration to the IP address of that standalone broker. Everything else works exactly the same.
How Secure Is MQTT for a Smart Home?
Out of the box, MQTT is a blank slate, but it can be made very secure. It really comes down to how you set it up. The most important thing is to never, ever skip the security steps.
At a minimum, create a strong, unique username and password for your broker. This ensures only your trusted devices can connect. For an extra layer of protection, you can enable TLS/SSL encryption. This scrambles all the MQTT traffic on your network, making it unreadable to anyone trying to snoop. It's a best practice that I'd recommend for any serious smart home.
The IRVINEi OVAL hub is built to shine in a secure, responsive MQTT environment, channeling detailed environmental data straight into your Home Assistant dashboard. See how its precision sensors and easy integration can be the heart of your smart home by visiting https://irvinei.com.
